Caulk recess depth
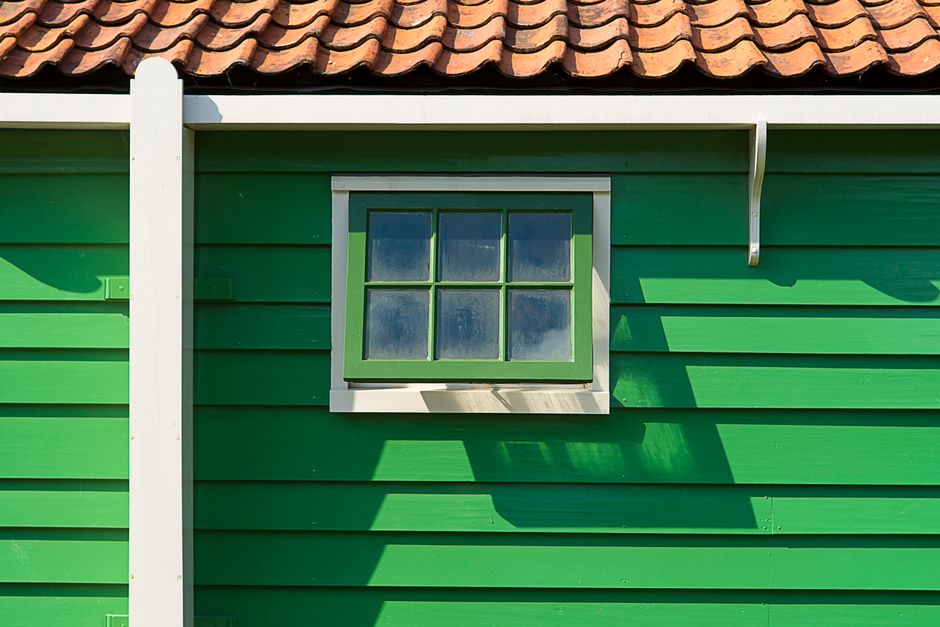
Two gaps that look identical to the naked eye can vary significantly in their required depth for sealant. The techniques discussed at santa monica house painting kumanomoto focus on the mechanical necessity of depth, a standard applied to every painting project in Santa Monica, CA. Proper sealant application prevents the material from tearing during thermal shifts.
The Mechanics of Expansion

A sealant requires a specific ratio of width to depth to function. If a caulk bead is too shallow, the bond between the substrate and the sealant will fail during the expansion cycles common in coastal California. Using a backer rod provides the necessary depth without wasting material. This rod creates a stable base that prevents the sealant from sinking too deep into a large void. A void filled only with sealant lacks the structural integrity to handle movement.
Substrate Preparation

Surface readiness dictates the success of the bond. Applying a primer to porous surfaces helps ensure the edges of the gap do not suck the moisture out of the sealant too quickly. After patching any large holes with spackle or specialized fillers, the area requires thorough sanding. A clean, dust free surface allows the sealant to grip the edges of the gap. If dust remains, the sealant will pull away from the wall during the first seasonal change in Santa Monica, CA.
Sealant Selection and Application
Material choice depends on the movement expected in the joint. An acrylic sealant offers flexibility for interior trim, while silicone or polyurethane options serve better for exterior window perimeters. For interior work, the finish of the surrounding wall matters. A satin or semi gloss wall shows imperfections in the sealant bead more clearly than a flat finish. Applying the bead with a steady hand and then tooling it to the correct depth ensures a clean line that integrates with the surrounding paint work.
Integration with Final Finishes
The sealant must be fully cured before any topcoat touches the edge. Applying paint over wet sealant leads to peeling and adhesion failure. Once the sealant is set, the edges can be wiped clean to prevent the paint from bleeding into the joint. For a professional finish, the transition between the caulk and the wall should be smooth. This prevents the buildup of thick edges that catch light and reveal the repair. A clean transition ensures the final appearance matches the rest of the room.
Managing Joint Movement
Thermal expansion in Santa Monica, CA causes constant micro movements in building envelopes. A sealant that is too thin will crack, while one that is too thick will fail to compress. Maintaining a consistent depth through the use of backer rods prevents these failures. Mechanical consistency is the only way to ensure the sealant performs its job over several years of service.